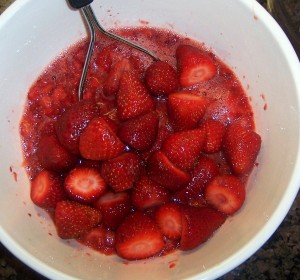
What goes better with fresh baked bread than homemade strawberry jam and homemade butter? I went on a baking rampage this weekend. I bought a flat of strawberries at the farmers market that were begging to be made into Strawberry Jam.
While I was whipping up the jam, the thought crossed my mind, “you can’t make strawberry jam without making homemade breadâ€.


Then, I remembered the heavy cream I bought a couple of weeks ago with the intention of making butter with the kids. No time like the present, right?

Â
Making Butter:
A friend of mine had the kids at church make butter while they sang their songs. At the end of class, they all got to taste their work slathered on a slice of bread topped with jam. I loved the idea and decided to try it at home with the kids.
The only ingredient used to make butter is cream. Preferably real cream. Â Fill a mason jar about half full with the cream. Let warm to room temperature. (It is possible to make butter with cold cream but it takes a lot longer). Then, shake. My kids insist we have to sing “Shake, shake, shake…shake, shake, shake, shake, shake!” over and over until the cream has turned into butter. Pretty soon the sloshing liquid sound will turn into a thump. That is the butter forming. Shake until it is completely firm, about 10 to 15 minutes. Open the jar and pour the buttermilk out into a bowl. The buttermilk can be used in any recipe that calls for buttermilk.
Pour some water into the jar. Swish the water around and drain. Continue to wash the butter in this manner until the water is clear. Next, place the butter on a cutting board and press out the excess buttermilk. If the buttermilk is left in the butter, it will cause it to have a sour taste and spoile faster. Now, the butter is ready to eat. Mold the butter and store in a glass container or wrapped in plastic wrap.
It is important to note that the butter does not have that buttery flavor we have come accustomed too. It is pretty much bland. To make salted butter, add a very small amount of salt to the butter and mix thoroughly before after the buttermilk has all been expressed.


